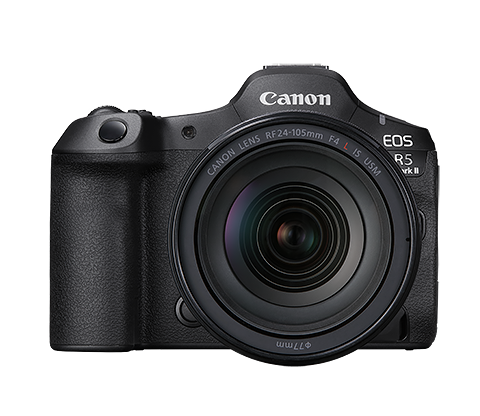
Setting the Dual Pixel RAW Function (EOS Ra)
Solution
Shooting  or
or  images with this feature enabled produces special, Dual Pixel RAW images containing dual pixel information from the image sensor. This is called Dual Pixel RAW shooting.
 or
or  images with this feature enabled produces special, Dual Pixel RAW images containing dual pixel information from the image sensor. This is called Dual Pixel RAW shooting.
When processing these images in Digital Photo Professional software for EOS cameras, you can take advantage of the Dual Pixel data to fine-tune sharpness (using depth information), shift the camera viewpoint slightly, and reduce ghosting.
Results will vary depending on shooting conditions, so before using this feature, refer to the Digital Photo Professional Instruction Manual for details on Dual Pixel RAW characteristics and image processing.
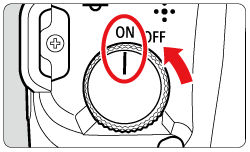
1. Set the camera's power switch to <ON>.
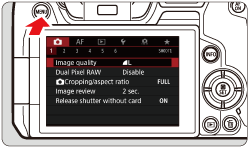
2. Press the <  > button to display the menu screen.
 > button to display the menu screen.
3. Press the <  > button to select the
  tab.
tab.
 > button to select the
  tab.
tab.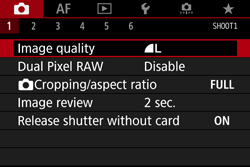
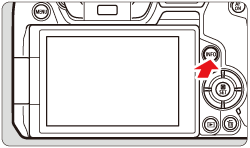
4. Turn the <  > dial to select the [
  ] tab.
 > dial to select the [
  ] tab.
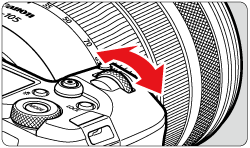
5. Turn the <  > dial to select [ Dual Pixel RAW ].
 > dial to select [ Dual Pixel RAW ].
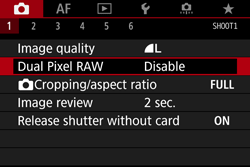
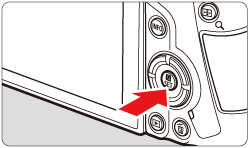
6. Press <  >.
>.
 >.
>.
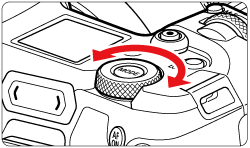
7. Turn the <  > dial to select [ Enable ].
 > dial to select [ Enable ].
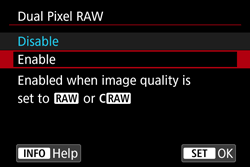
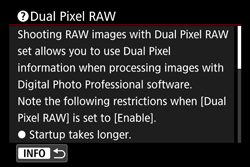
NOTE
Press the <  > button and read the Help screen before proceeding.
 > button and read the Help screen before proceeding.
8. Press <  >.
>.
 >.
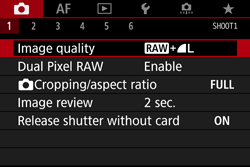
>.9. Turn the <  > dial to select [ Image quality ].
 > dial to select [ Image quality ].
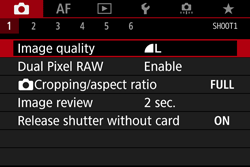
10. Press <  >.
>.
 >.
>.11. Set the image quality to  ,
,  + JPEG,
  or
or  + JPEG.
 ,
,  + JPEG,
  or
or  + JPEG.
- To select the RAW quality, turn the <
 > dial, and to select the JPEG quality, press the <
  > <
> <  > keys.
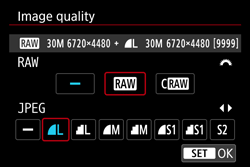
- Press <
 > to set it.
IMPORTANT
About the Dual Pixel RAW Function
- Startup takes longer when the power switch is set to <ON> or the camera resumes operation from auto power off.
- Continuous shooting speed is slower when you shoot with Dual Pixel RAW. Maximum burst also decreases.
- <
 > drive mode is not available. Setting the mode to <
  > has the effect of setting it to <
  >.
>. - Noise may be more noticeable in RAW or RAW + JPEG images.
- One-touch image quality setting is not available.
NOTE
Amount and Effect of Dual Pixel RAW Correction
- Larger lens apertures increase the amount and effect of correction.
- The amount and effect of correction may not be sufficient with some lenses and in some shooting scenes.
- The amount and effect of correction varies depending on the camera orientation (vertical or horizontal).
- The amount and effect of correction may not be sufficient under some shooting conditions.

