Compatible Remote Switches (Still Images/Movies) (EOS 90D)
Solution
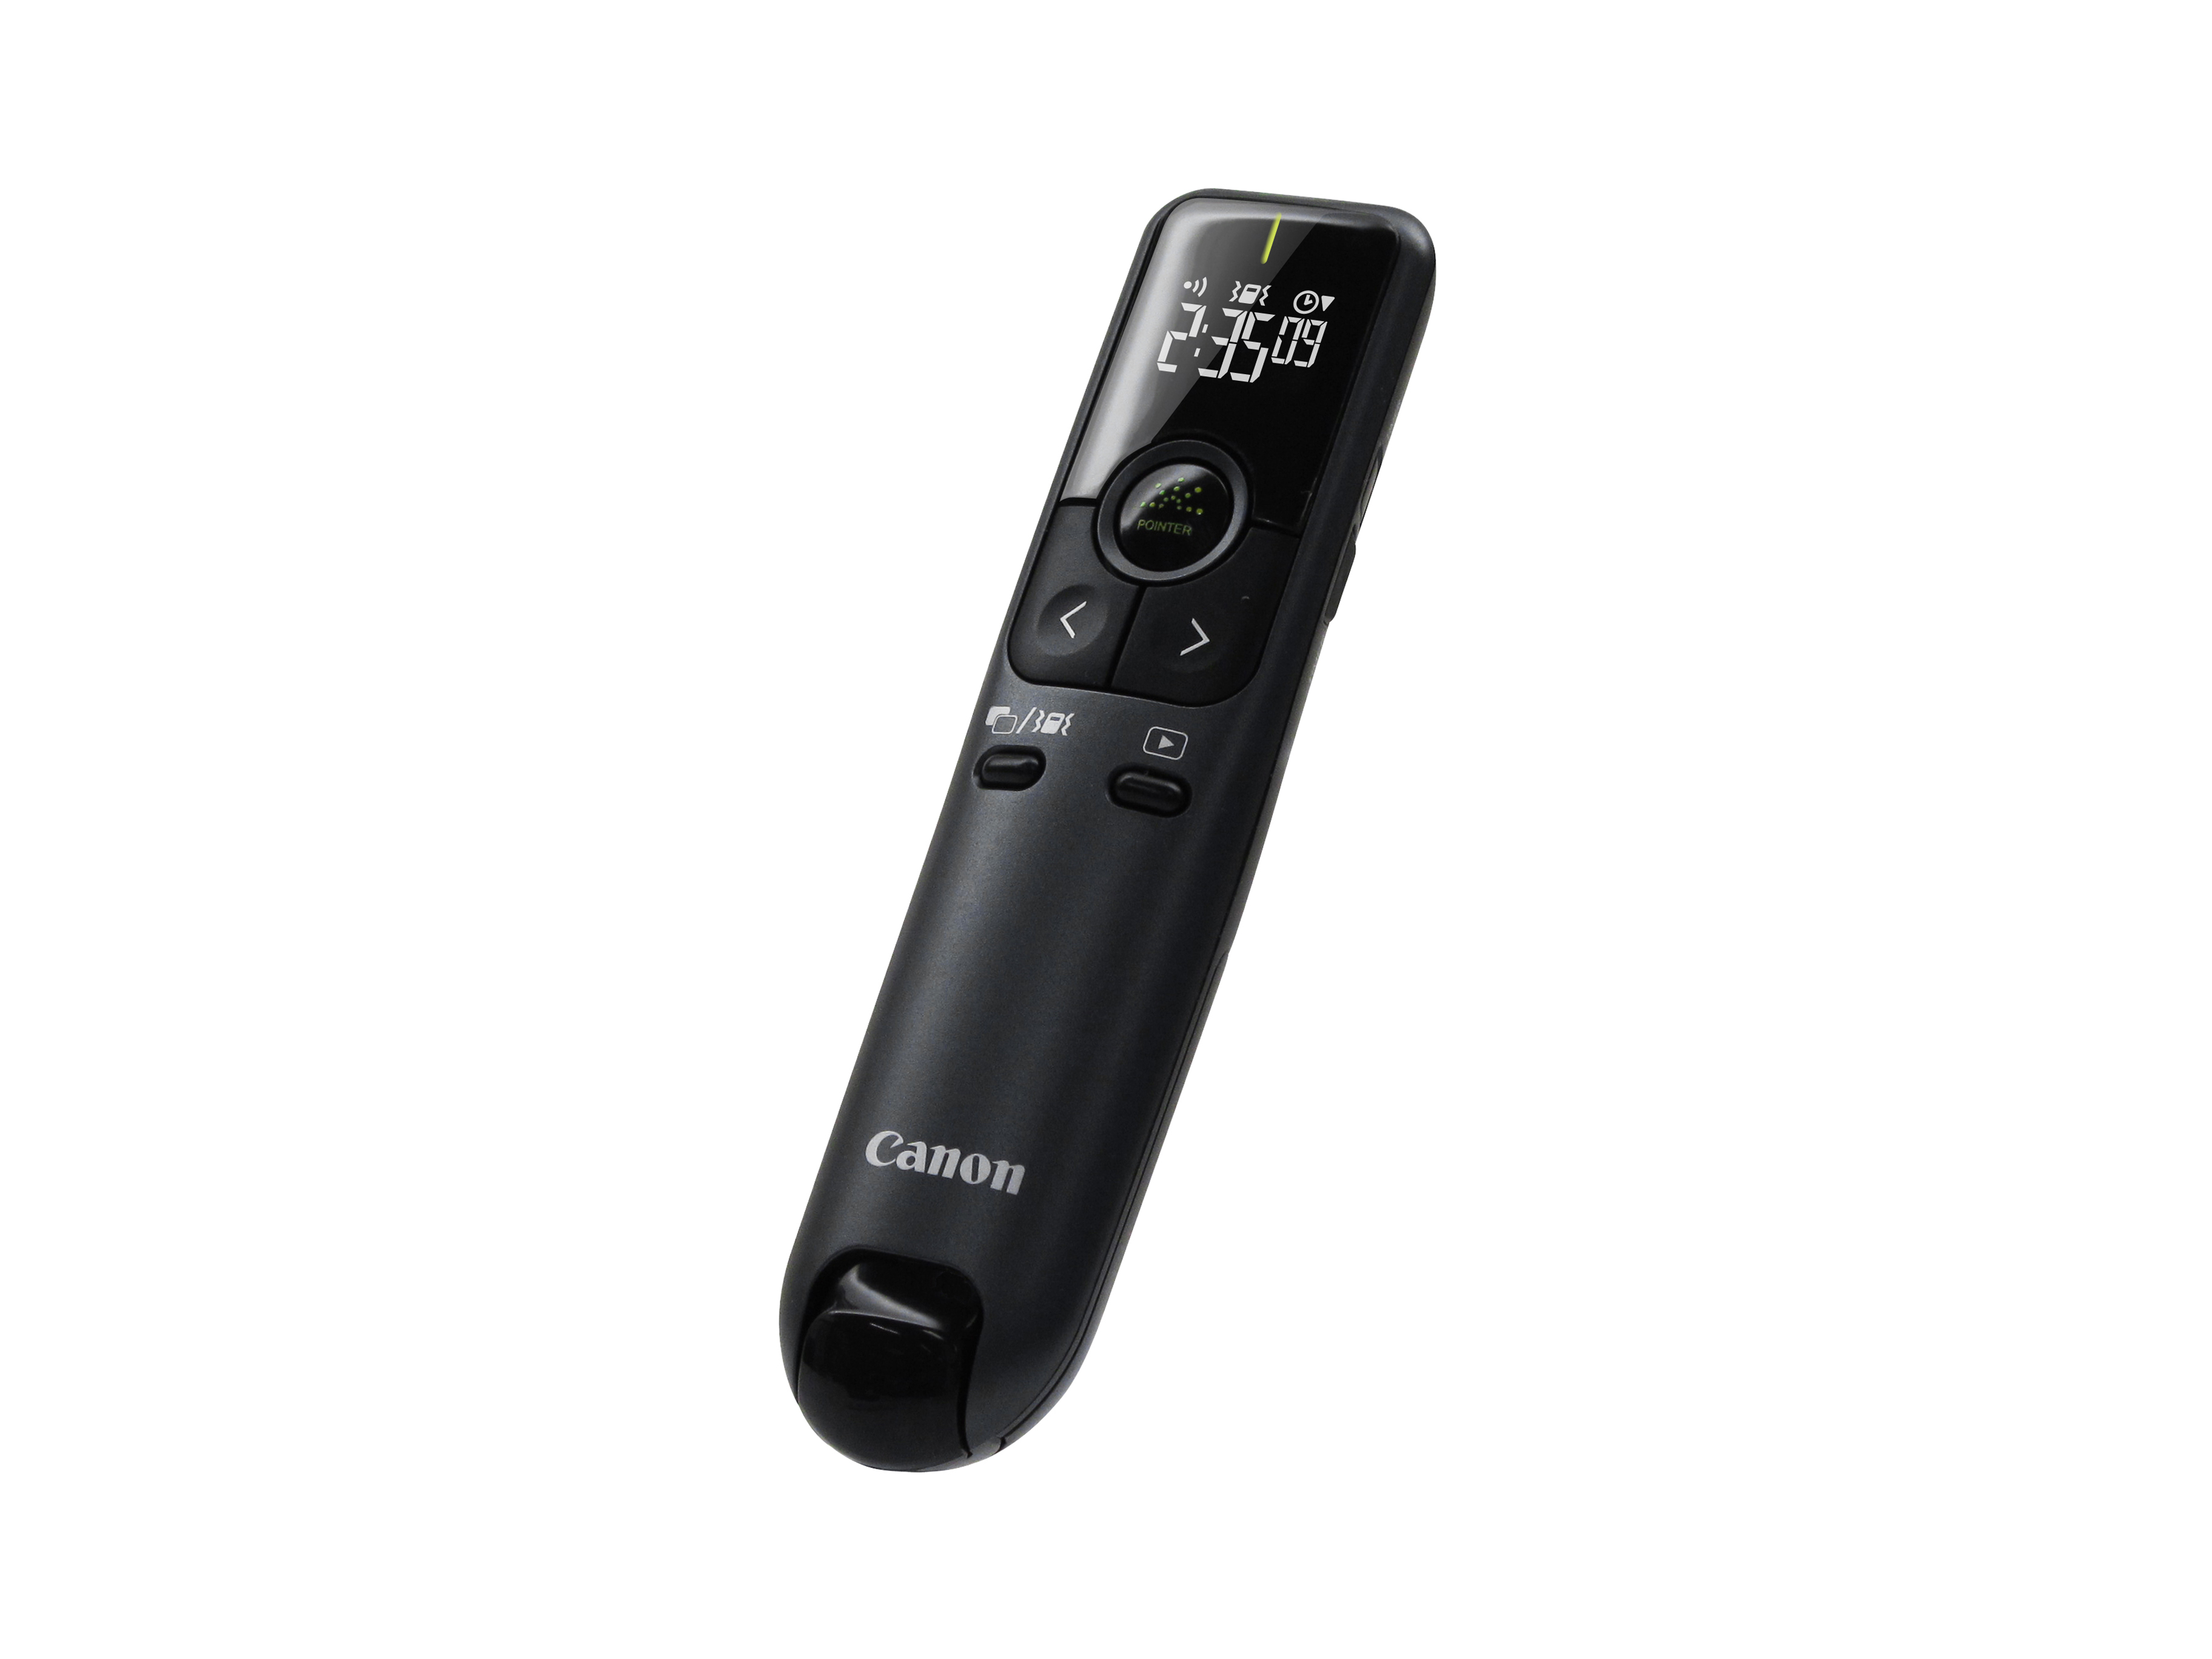
For remote control shooting, you can use Remote Controller RC-6, Wireless Remote Control BR-E1, or Remote Switch RS-60E3 (infrared, Bluetooth, and wired connections, respectively; sold separately).
| Remote Controller RC-6 | Wireless Remote Control BR-E1 | Remote Switch RS-60E3 |
 |  |  |
NOTE
- For details on these accessories' operation procedures, see the respective instruction manuals.
You can shoot remotely up to approx. 5 meters/16.4 feet away from the camera. After pairing the camera and BR-E1, set the drive mode to <  > or <
  >.
>.
 > or <
  >.
>.- Pairing
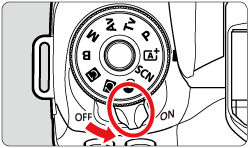
1. Set the camera's power switch to < ON >.
2. Press the <  > button.
 > button.
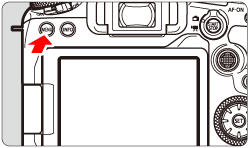
3. Press the <  > button to select the [
  ] tab.
 > button to select the [
  ] tab.
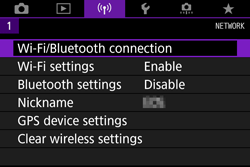

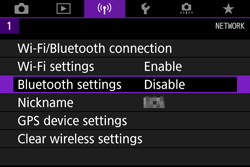
4. Turn the <  > dial to select [ Bluetooth settings ], and press <
  >.
>.
 > dial to select [ Bluetooth settings ], and press <
  >.
>.
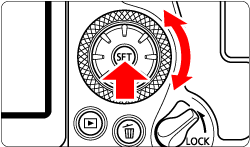
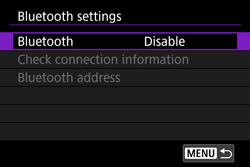
5. Turn the <  > dial to select [ Bluetooth ], and press
  >.
>.
 > dial to select [ Bluetooth ], and press
  >.
>.
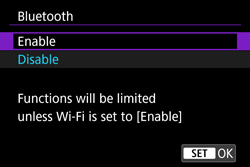
6. Turn the <  > dial to select [ Enable ], and press <
  >.
>.
 > dial to select [ Enable ], and press <
  >.
>.
7. Press the <  > button.
 > button.
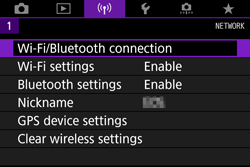
8. Turn the <  > dial to select [ Wi-Fi/Bluetooth connection ], and press <
  >.
>.
 > dial to select [ Wi-Fi/Bluetooth connection ], and press <
  >.
>.
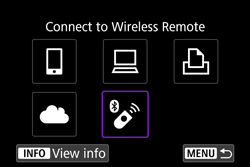
9. Turn the <  > dial to select [ Connect to Wireless Remote ], and press <
  >.
>.
 > dial to select [ Connect to Wireless Remote ], and press <
  >.
>.
NOTE
- If the history is displayed, switch the screen with the <
 > <
> <  > keys.
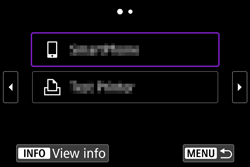
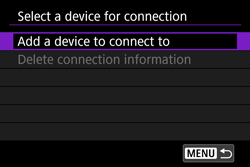
10. Turn the <  > dial to select [ Add a device to connect to ], and press <
  >.
>.
 > dial to select [ Add a device to connect to ], and press <
  >.
>.
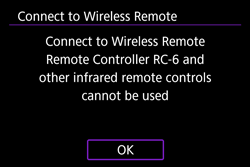
11. Press <  >.
>.
 >.
>.
12. Press and hold the BR-E1's <W> button and <T> button simultaneously for 3 sec. or more.
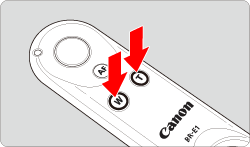
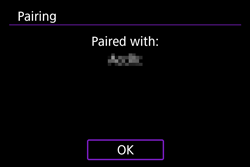
Pairing starts. After the pairing is complete, the remote controller is registered to the camera.
13. Set up the camera for remote control shooting.
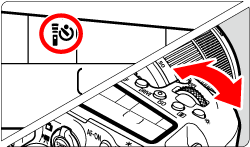
- Still Photos: Set the drive mode of the camera to <
 > or <
  >.
>.
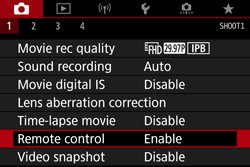
- Movies: Set [Remote control] to [Enable] from the menu screen of the camera.
14. Set the release timing/movie shooting switch on the remote controller.
- Still Photos: Set the release timing/movie shooting switch on the remote controller to the <
 > (immediate release) or <2> (2-sec. delay release) position.
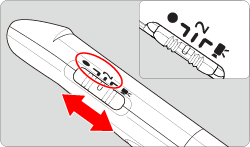
- Movies: Set the release timing/movie shooting switch on the remote controller to the <
 > position.
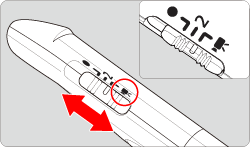
15. Shoot still photos or movies.
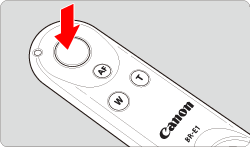
- Still Photos: When you press the release button on the remote controller, the camera automatically focuses (AF), and takes a picture when focus is achieved.
- Movies: When you press the release button on the remote controller, the self-timer lamp lights up and movie shooting starts. When you press the button again, the indicator lamp blinks and movie shooting stops.
IMPORTANT
- Bluetooth connections consume battery power even after the camera’s auto power off is activated.
NOTE
- When you do not use the Bluetooth function, setting it to [Disable] in step 6 is recommended.
- When the shooting ends, the camera’s self-timer lamp will light up briefly.
- Clear Remote Controller Connection Information
To pair with another BR-E1, clear the connection information of the remote controller currently connected.
1. Set the camera's power switch to < ON >.

2. Press the <  > button.
 > button.
3. Press the <  > button to select [
  ] tab.
 > button to select [
  ] tab.

4. Turn the <  > dial to select [ Wi-Fi/Bluetooth connection ], and press <
  >.
>.
 > dial to select [ Wi-Fi/Bluetooth connection ], and press <
  >.
>.
5. Turn the <  > dial to select [ Connect to Wireless Remote ], and press <
  >.
>.
 > dial to select [ Connect to Wireless Remote ], and press <
  >.
>.
NOTE
- If the history is displayed, switch the screen with the <
 > <
> <  > keys.

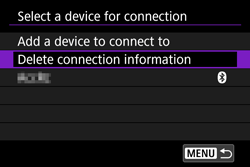
6. Turn the <  > dial to select [ Delete connection information ], and press <
  >.
>.
 > dial to select [ Delete connection information ], and press <
  >.
>.
7. Turn the <  > dial to select [ OK ], and press <
  >.
>.
 > dial to select [ OK ], and press <
  >.
>.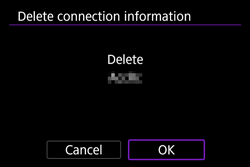
- The remote controller’s connection information will be cleared.
You can shoot remotely up to approx. 5 meters/16.4 feet away from the front of the camera. You can either shoot immediately or with a 2-sec. delay.
1. Set the camera's power switch to < ON >.

2. Press the < DRIVE > button.

3. Turn the <  > dial to select <
  > or <
  >.
>.
 > dial to select <
  > or <
  >.
>.
4. Point the remote controller toward the camera’s remote control sensor (  ), then press the transmit button.
 ), then press the transmit button.
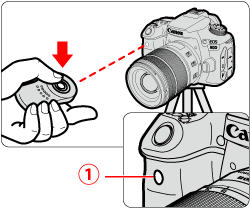
- Autofocusing is performed when the focus mode switch is set to < AF >.
- The remote control lamp lights up and the picture is taken.
IMPORTANT
Cautions for Remote Control Shooting
- Infrared remote controllers such as the RC-6 cannot be used for remote control shooting when the camera is paired via Bluetooth with a smartphone or wireless remote control.
- Fluorescent or LED lighting may cause camera misoperation by triggering the shutter inadvertently. Try to keep the camera away from such light sources.
- If you point a remote controller for a TV set toward the camera and operate it, it may cause camera misoperation by triggering the shutter inadvertently.
- If flash light is emitted from a flash on another camera around this camera, it may cause camera malfunction by triggering the shutter inadvertently. Do not expose the remote control sensor to flash light from a flash on another camera.
NOTE
Shooting Movies
- Set the Live View shooting/Movie shooting switch to <
 >, press the <
  > button and choose the [
  ] tab. Set [Remote control] to [Enable].
 - Set the switch to the <2> (2-sec. delay) position, then press the transmit button. If the switch is set to <
 >(immediate release), the [
  : Shutter btn function for movies ] setting will be applied.
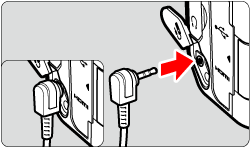
Once connected to the camera, the switch enables you to shoot remotely over a wired connection.
1. Open the terminal cover.
2. Connect the plug to the remote control terminal.
NOTE
Shooting Movies with RS-60E3 (sold separately)
- Set the Live View shooting/Movie shooting switch to <
 >, press < MENU > and choose the [
  ] tab. Set [ Shutter btn function for movies ] to [ Start/stop mov rec ].


