


Specifying a Paper Size
Solution
This section describes how to print a document on your computer by using the printer driver.
NOTE
- Before printing, specify the paper size and type for the paper loaded in the paper source. For details on the procedures for loading paper, see the "e-Manual" (HTML manual) in the DVD-ROM supplied with the printer.

1. Open a document in an application and display the print dialog box.
- How to display the print dialog box differs for each application. For more information, see the instruction manual for the application you are using.
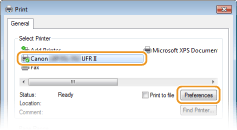
2. Select your printer, and click [Preferences] or [Properties].
- The screen that is displayed differs depending on the application you are using.
3. Specify the paper size.
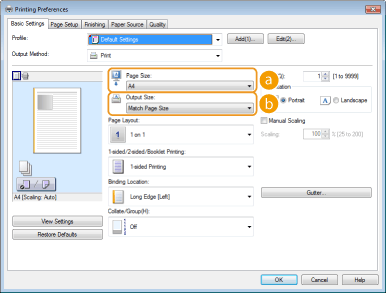
(a) [Page Size]
Select the size of a document made in the application.
(b) [Output Size]
Select the size of paper on which the document will be actually printed. If the selected size differs from the one specified in [Page Size], the document is printed enlarged/reduced automatically according to the size specified in [Output Size].
REFERENCE
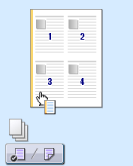
Clickable UI
- You can easily specify the page layout, binding position, etc. intuitively on the preview image. For more information, click [Help] on the printer driver screen.
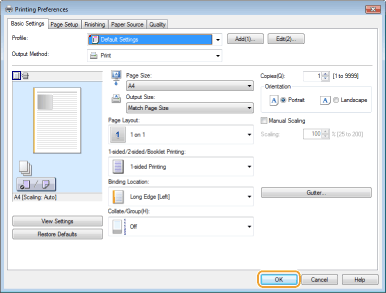
4. Specify other print settings as necessary.
NOTE:
You can register the settings you specified in this step as a "profile" and use the profile whenever you print. You can eliminate the need to specify the same settings every time you print. For details on the settings, see the "e-Manual" (HTML manual) in the DVD-ROM supplied with the printer.
5. Click [OK].
6. Click [Print] or [OK].
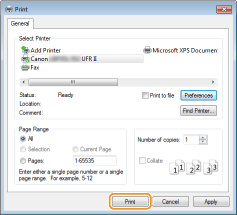
- Printing starts. On some applications, a screen like shown below appears.

- To cancel printing, click [Cancel] when the screen shown above is displayed. After the screen disappears or if the screen is not displayed, you can cancel printing in other ways.