25-Nov-2015
8202749900
 are for cameras. The operation instructions that begin with this illustration
  are for SELPHY.
 1. Prepare SELPHY.
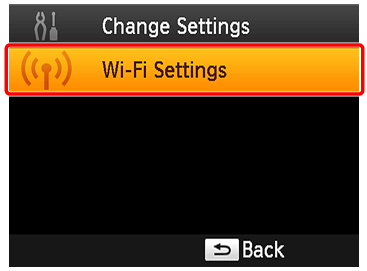
 2. Access the setting screen.
 >.
>. ], [
], [  ] buttons to select [Wi-Fi Settings], and then press the [
  ] button.

 ], [
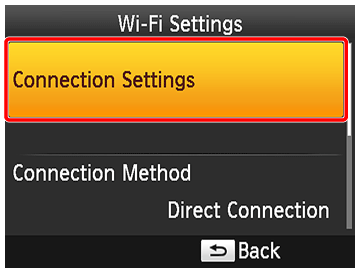
], [  ] buttons to select [Connection Settings], and then press the [
  ] button.
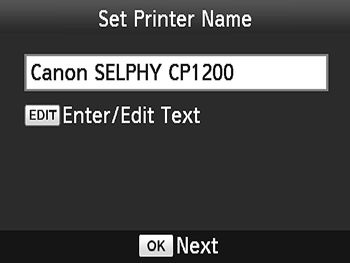
 3. Check the printer name.
 ] button.
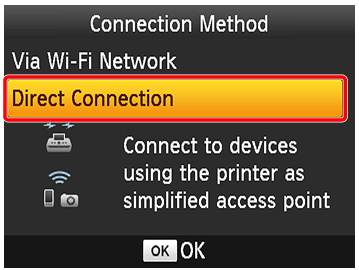
 4. Choose the connection method.
 ], [
], [  ] buttons to select [Direct Connection], and then press the [
  ] button.
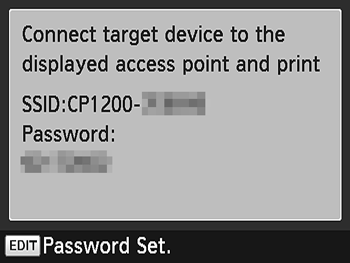
 5. The following screen is displayed.

 6. Press the <Playback> button (
 ) on the camera to turn the power on.
 7. Press the <
 > button.
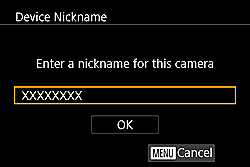
 > button, then use the displayed keyboard to enter a nickname.
 8. Press the [
  ], [
], [  ], [
], [  ], [
], [  ] buttons to select [
  ], and then press the <FUNC./SET> button (
 ).
).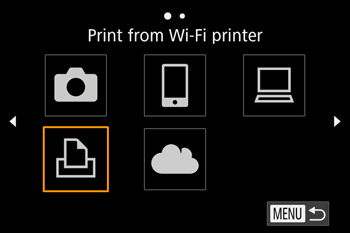
 9. Press the [
  ], [
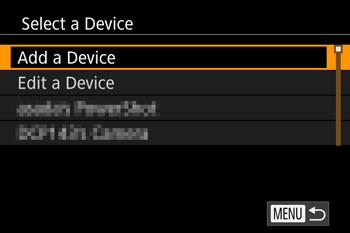
], [  ] buttons to select [Add a Device], and then press the <FUNC./SET> button (
 ).
).
 ], [
], [  ] buttons to select an item and then simply press the [
  ] button to connect to the device. To add a new device, display the device selection screen by pressing the [
  ], [
], [  ] buttons, and the configure the setting. If you do not wish for the recent connections to be displayed, press the <MENU> button and select [Off] in [Target History] in [Wi-Fi Settings] in the [
  4] tab.
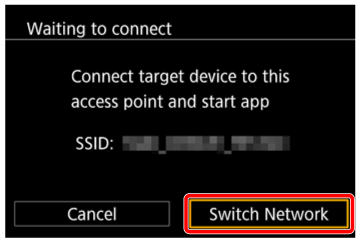
 10. In [Select Network] on the camera, press the [
  ], [
], [  ] buttons, select the SSID (network name) displayed on the printer, and press the <FUNC./SET> button [
  ].
].

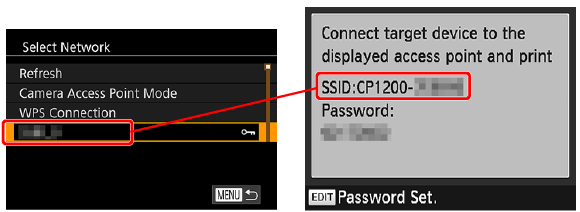
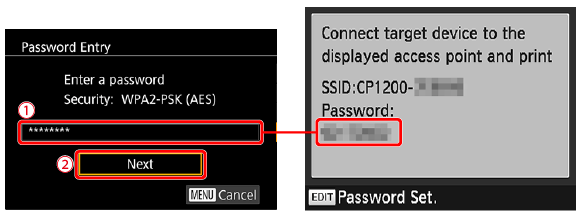
 11. Enter the password displayed on the printer in the
  encryption key field by using the keyboard that appears when you press the <FUNC./SET> button (
 ), select [Next]
  , and press the <FUNC./SET> button (
 ).
).
 12. Press the [
  ], [
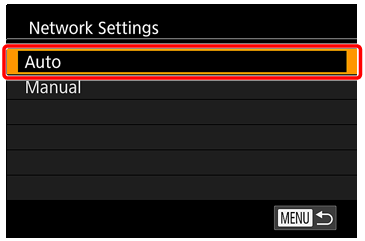
], [  ] buttons to select [Automatic], and then press the <FUNC./SET> button (
 ).
).
 13. Press the [
  ], [
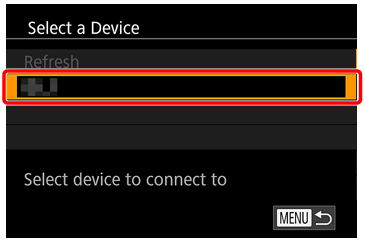
], [  ] buttons to select the printer name you set in step 3, and then press the <FUNC./SET> button (
 ).
).
 14. SELPHY and the camera are connected and the playback display appears again.
 1. Press the [
  ], [
], [  ] buttons to select the images you want to print.
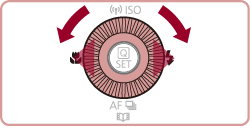
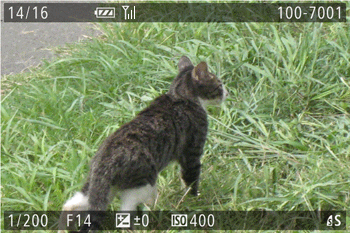
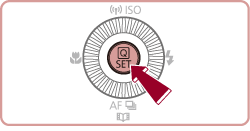
 2. Press the [
  ] button, select [
  ], and then press the [
  ] button again.
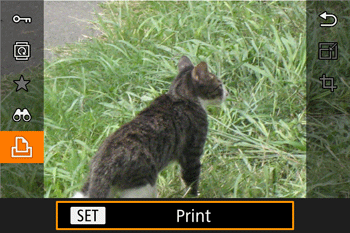
 3. The screen with printing settings appears.
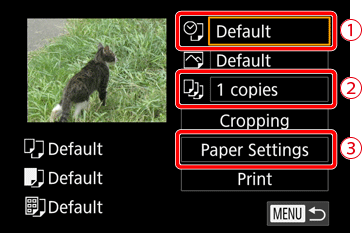
 ], [
], [  ] buttons, select
  , and then press the [
  ] button.
 ], [
], [  ] buttons, select
  , and then press the [
  ] button.
 Press the [
  ], [
], [  ] buttons to select [Paper Settings], and then press the [
  ] button.
 4. The screen where you can set the paper size is displayed.
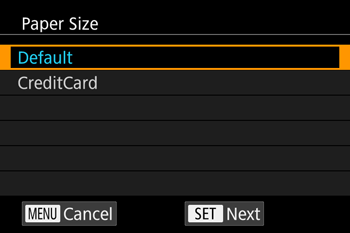
 ] button.
 5. The screen where you can set the paper type is displayed.
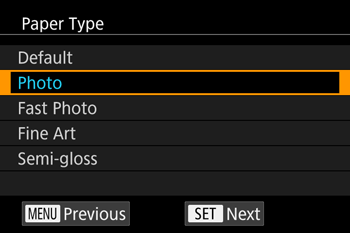
 ] button.
 6. The screen where you can set the layout is displayed.
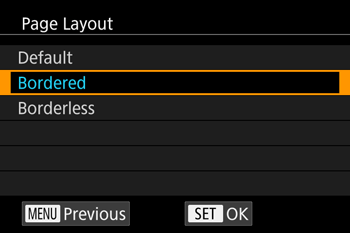
 ] button.
 7. The screen with printing settings appears again.
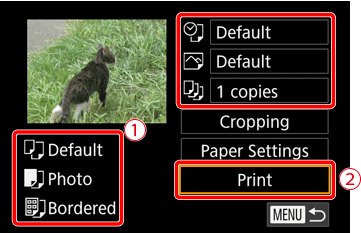
 Check the settings.
 Select [Print] and press the
  ] button to start printing.
 8. • Once printing begins, the screen below is displayed.
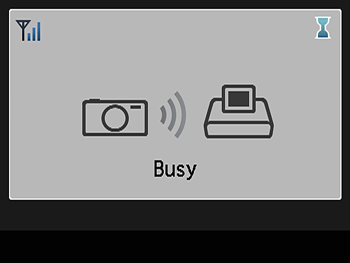
 > button. Use the camera to stop printing.
 9. • The standby screen below is displayed when printing is finished.