Solution
After downloading and installing PIXELA’s Transfer Utility LE software, you can easily save AVCHD movie files to your Windows computer.
The installation procedure for Transfer Utility LE is explained below.
IMPORTANT
- The Transfer Utility LE software and Software Guide can be downloaded from the PIXELA Homepage.
- An internet connection is required for downloading.
- The Transfer Utility LE software is for use on computers with Windows operating systems only. For more information on system requirements, refer to System Requirements for Applications (VIXIA mini X / LEGRIA mini X).
Installing Transfer Utility LE on your computer
The installation procedure for Transfer Utility LE is explained below.
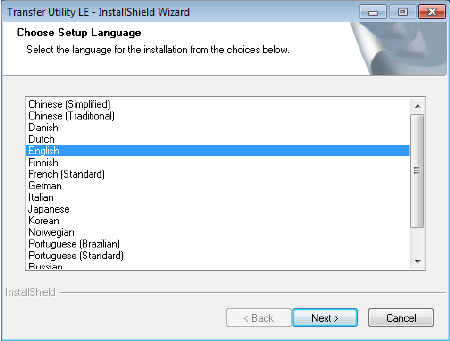
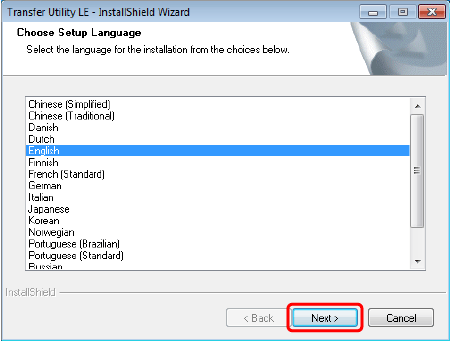
1. Double-click the [ tule1_xxxxxx.zip ] folder after downloading it from the PIXELA Homepage, and then click the [setup.exe] in the uncompressed folder.
* "x" varies depending on the version of the software you use.
NOTE
*Click [Continue] (Windows Vista) / [Yes] (Windows 7 / Windows 8) if the [User Account Control] dialog box is displayed.
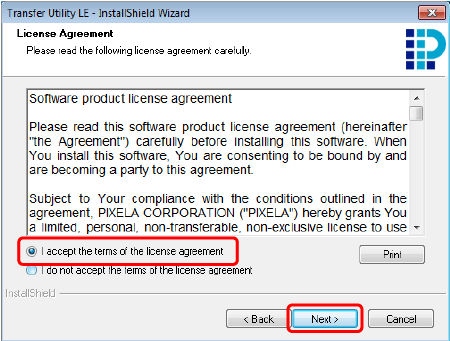
5. Confirm the License Agreement, and click [I accept the terms of the license agreement] if you agree.
*You may not be able to use this software unless you accept the agreement.
Click [Next].
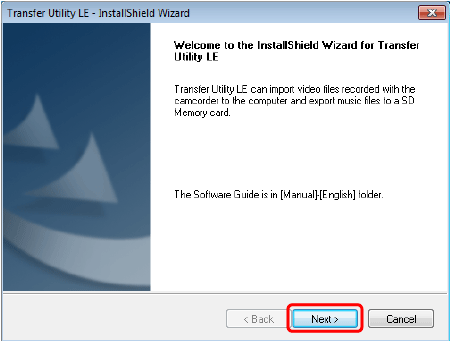
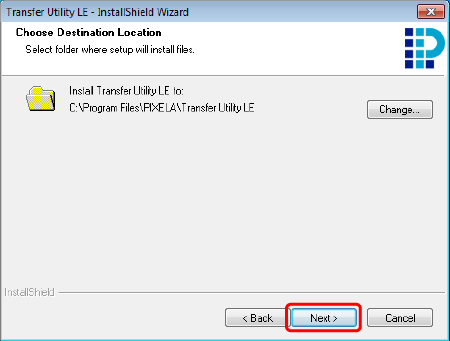
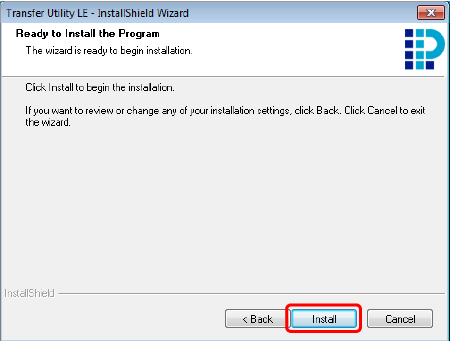
6. Click [Next].
- If you want to change the destination folder, click [Change...] and specify the destination.
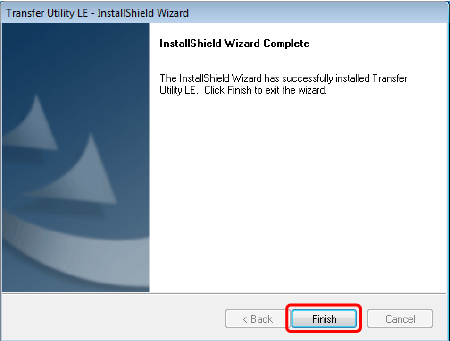
8. Click [Finish].
NOTE
The installation of Transfer Utility LE is completed. The Software Guide is also Installed and the following shortcuts are placed on the Desktop.

Transfer Utility LE (software)

Transfer Utility LE Software Guide

Transfer Utility LE Homepage

PIXELA Product Registration
This concludes the installation procedure.

 Transfer Utility LE (software)
 Transfer Utility LE Software Guide
 Transfer Utility LE Homepage
 PIXELA Product Registration