Solution
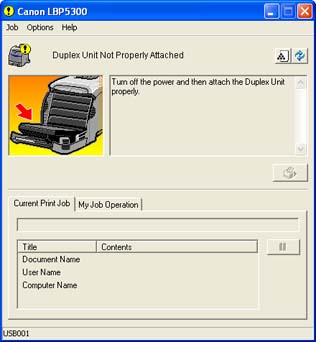
If the duplex unit supplied with this printer is not installed properly, the following message is displayed in the Printer Status Window.
IMPORTANT
Operational requirements and restrictions are indicated at the end of this page. Be sure to read these items carefully in order to operate the printer correctly, and to avoid damage to the printer.
Install the duplex unit properly using the following procedure.
1. Turn the power of the printer OFF.
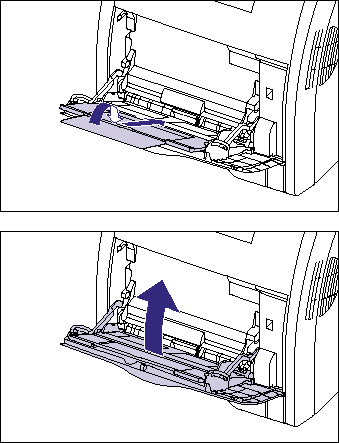
2. If you are using the multi-purpose tray, close it.
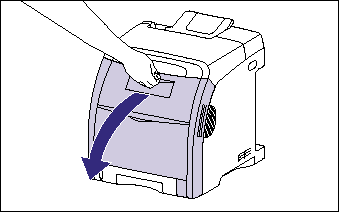
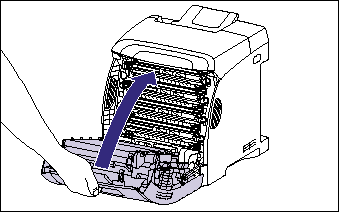
3. Open the front cover.
Holding the opening of the front cover, open it gently.
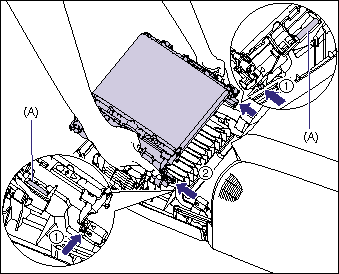
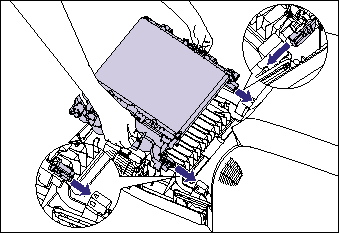
4. Remove the duplex unit gently.
While pressing the levers on both sides of the duplex unit (1) and holding the tabs (A), remove the duplex unit gently (2) as shown in the figure.
5. Install the duplex unit.
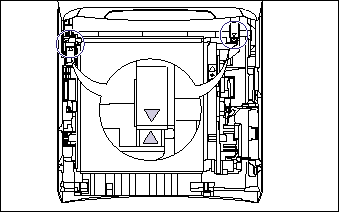
Insert the projections of the duplex unit in the printer, then install the duplex unit firmly until it clicks as shown in the figure.
Make sure that the triangular mark on the printer is aligned with that on the duplex unit as shown in the figure.
6. Close the front cover.
Holding the opening of the front cover, close it gently.
7. Turn the power of the printer ON.
IMPORTANT
a. To install the duplex unit properly, remove it once. When you remove the duplex unit, the data being printed will be deleted because you have to turn the power of the printer OFF. Print the data again after installing the duplex unit properly.
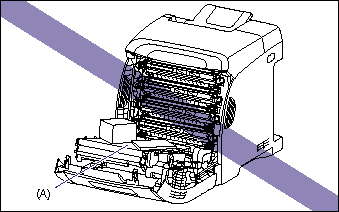
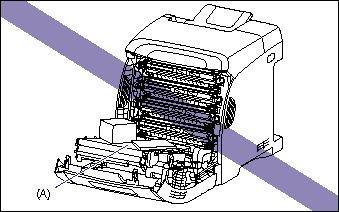
b. Do not place any object on or touch the transfer belt (A) of the ETB unit. The transfer belt of the ETB unit is supplied with a function that cleans itself, therefore, do not clean the belt even when the toner is on it. If the ETB unit is broken or transfer belt is damaged, this may result in misfeeds or deterioration in print quality.
