Solution
This camera can display an [Electronic Level] as a guide to determine whether the camera's LCD monitor is level.
Please use it as a guide for determining whether the camera is level when shooting.
IMPORTANT
- The following explanations are provided based on the assumption that the [Shooting Mode] is set to [Program] (
 ).
).
- If the [Shooting Mode] is set to [Movie Digest] (
 ), the [Electronic Level] cannot be displayed.
REFERENCE
- The scale on the [Electronic Level] displays 15 units to the right and left of the center position. Each unit is approximately equal to 1 degree.
Display the Electronic Level
1. Press the <

> button a few times to display the [Electronic Level].
Calibrating the Electronic Level
3. Press the <

> button.
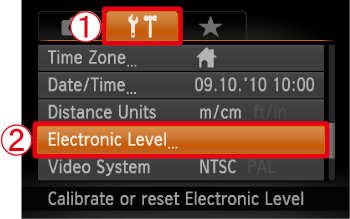
4. The following window appears.
Operate the <directional buttons> left or right to select

the [Set up] (

) tab.
Operate the <directional buttons> up or down to select

[Electronic Level].
After making a selection, press the <FUNC./SET> (

) button.
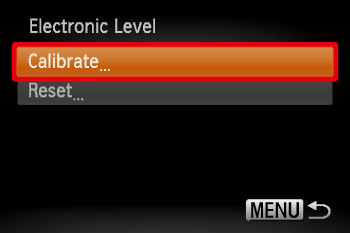
5. The following window appears.
Check that [Calibrate] is selected, and then press the <FUNC./SET> button (

).
NOTE
- If you want to restore the default settings for the [Electronic Level], select [Reset].
- If the [Electronic Level] has not been calibrated, it cannot be reset.
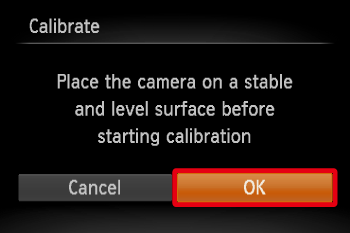
6. The following window appears.
Operate the <directional buttons> left or right to select [OK].
After making a selection, press the <FUNC./SET> (

) button.
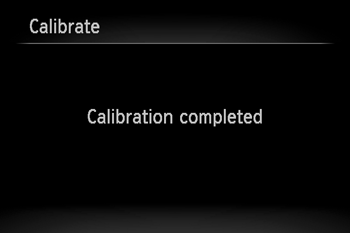
7. The following window appears.
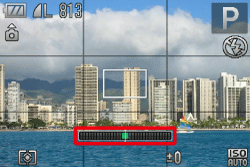
 ).
). ), the [Electronic Level] cannot be displayed.
 > button a few times to display the [Electronic Level].
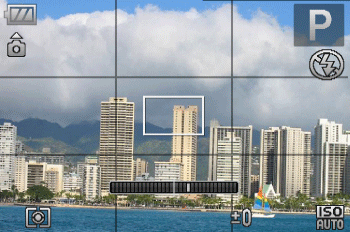

 > button to display the [Shooting] tab (
 ). In the [Custom Display] options, add a check (
 ) to either (
 ) or (
 ).
). > button a few times, and the [Grid Lines] will appear.
 > button to display the [Shooting] tab (
 ). In the [Custom Display] options, add a check (
 ) to either (
 ) or (
 ).
). > button.
 the [Set up] (
 ) tab.
 [Electronic Level].
 ) button.
 ).
).
 ) button.