


Trimming images using ZoomBrowser EX
Trimming Images Using ZoomBrowser EX
|
Note:
|
||
|
|
-
|
ZoomBrowser EX from the supplied Solution Disk must be installed on your computer for this operation.
|
|
|
-
|
Operations for Windows Vista are explained here. Images displayed or operation might differ slightly in Windows XP and Windows 2000.
|
|
|
-
|
As the actual locations of buttons/switches on cameras vary depending on the camera model, the illustrations that appear on this page may differ from your camera.
|
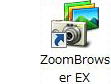
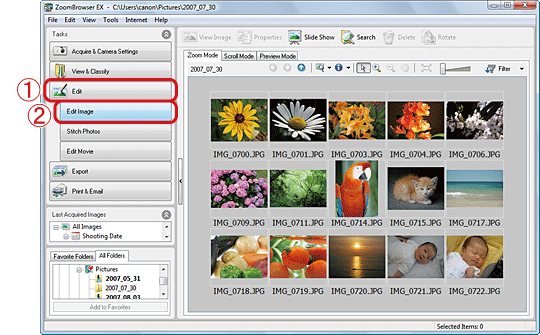
1. Double-click the [ZoomBrowser EX] shortcut icon on your desktop to start [ZoomBrowser EX].
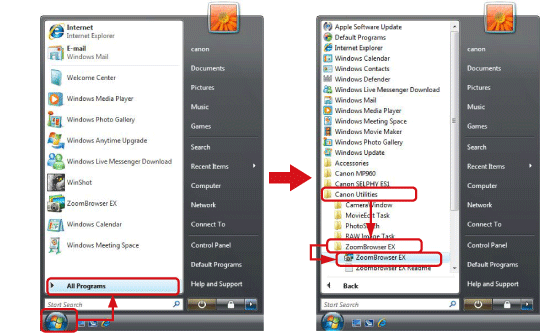
If you cannot find the [ZoomBrowser EX] shortcut icon on your desktop, click [Start] ( )à [All Programs] or [Programs] à [Canon Utilities] à [ZoomBrowser EX] and select [ZoomBrowser EX] to start ZoomBrowser EX.
2. The following screen appears.
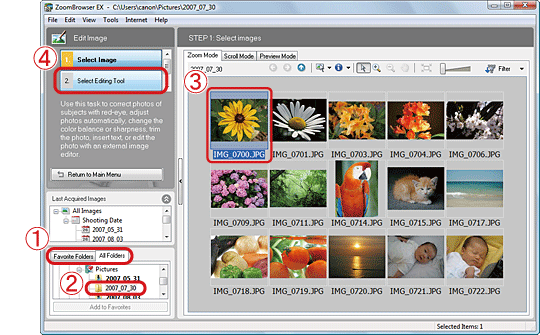
3.The following screen appears.
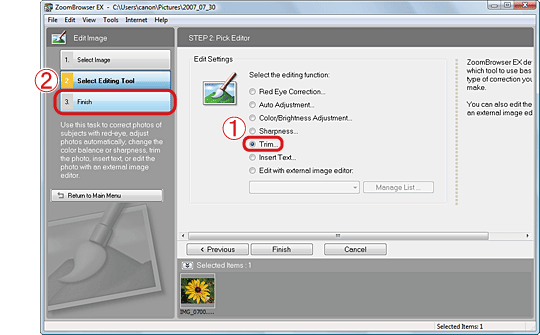
4. The following screen appears.
5. The trim area will be displayed on the [Trim Image] screen.
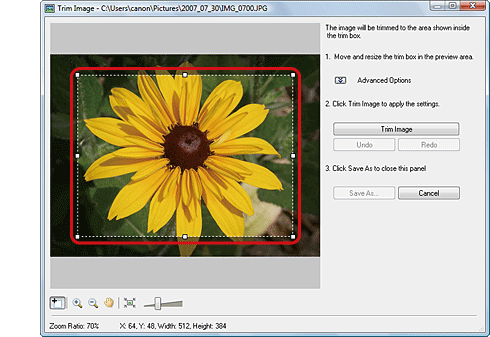
6. To change the trim area, select one of the selection handles (□) on the trim area and drag it while holding the left mouse button down.
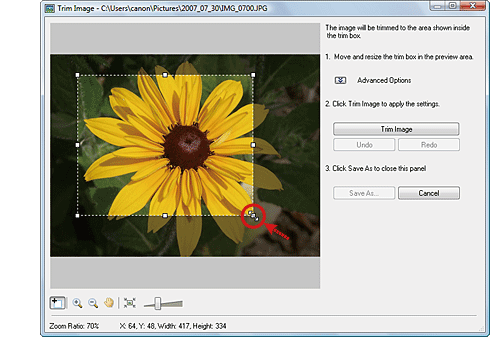
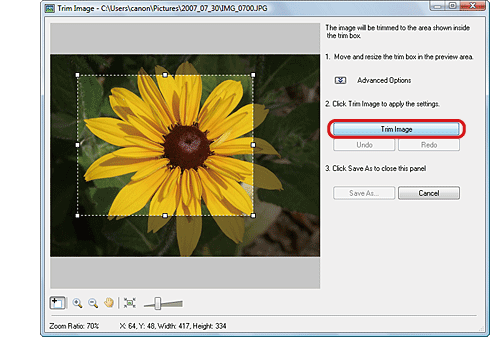
7. When you decide the trim area, click [Trim Image].
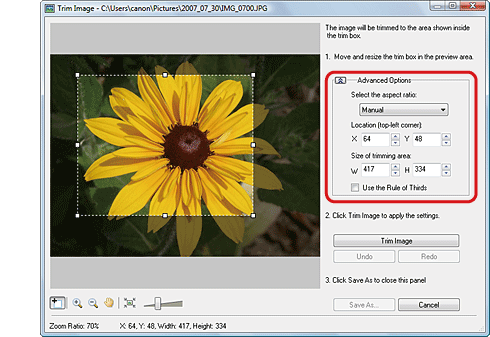
If you click [Advanced Options], you can specify the trim area using specific values and set the aspect ratio.
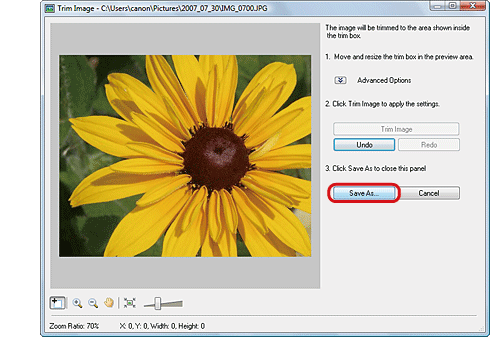
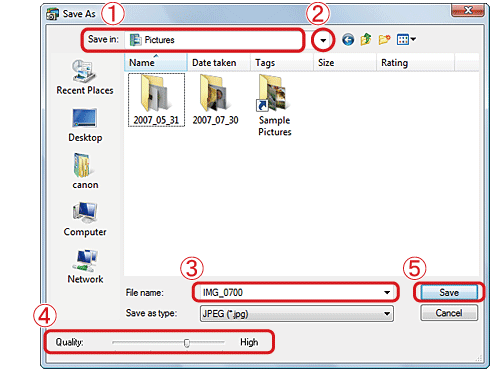
8. Click [Save As].
9. The following screen appears.
This completes the trimming procedure.